
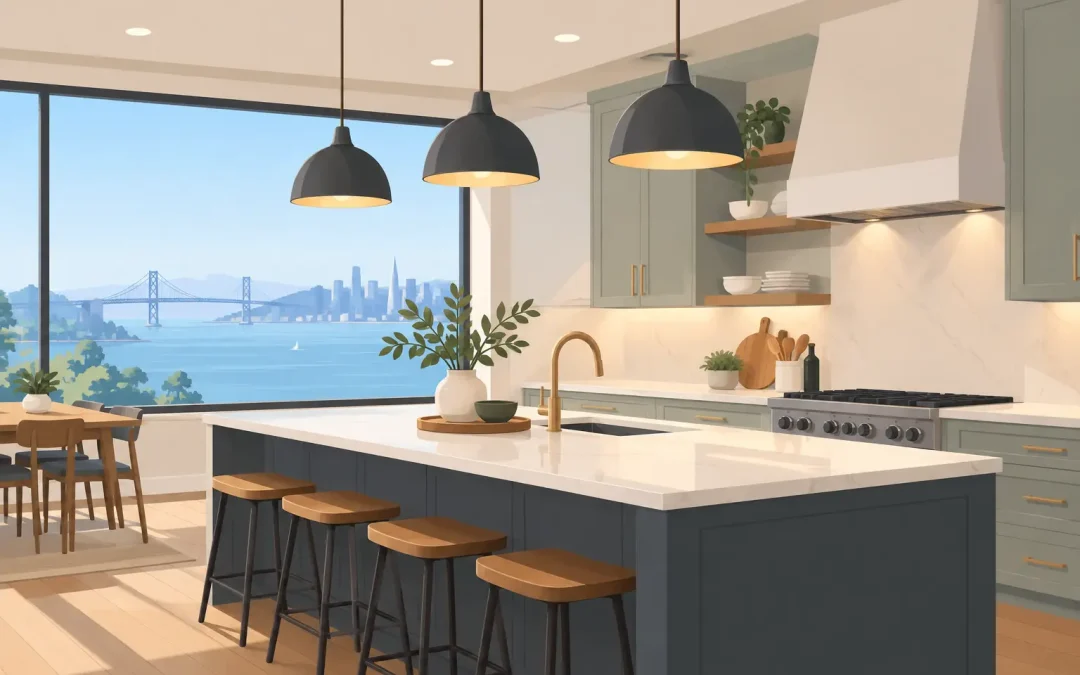
A beautiful new kitchen can still feel unfinished at 6 p.m. if the counters fall into shadow, pendants glare across the island, or the only ceiling fixture turns every surface a flat gray. The best kitchen lighting upgrades solve those daily frustrations while making cabinetry, tile, and carefully chosen finishes look as good at night as they do in daylight.
For Bay Area homeowners planning a kitchen remodel, lighting should be part of the layout and electrical plan from the beginning. It affects where outlets go, how deep upper cabinets can be, whether an island needs a junction box, and how comfortably your household cooks, works, eats, and gathers. Retrofitting can help, but a complete remodel creates the best opportunity to build a flexible lighting plan that feels intentional rather than added on.
Start With Layered Kitchen Lighting
The most successful kitchens use more than one type of light. A single bright ceiling fixture may technically illuminate the room, but it rarely provides good visibility at the places where people actually prepare food. Layering combines ambient, task, and accent lighting so each part of the kitchen works without making the space feel overlit.
Ambient lighting provides the overall base level of illumination. Recessed ceiling lights are a common choice because they distribute light without competing with the kitchen design. In a kitchen with lower ceilings, they can make the room feel cleaner and more open. In a larger open-plan home, they help connect the kitchen to the dining and living areas.
Task lighting focuses on work zones: countertops, the range, sink, pantry, and island. Under-cabinet lights are the classic example. They put illumination directly on the counter, where overhead lights can cast shadows from your body or upper cabinets. Good task lighting is not just a visual improvement. It makes chopping, reading labels, and cleaning up more comfortable.
Accent lighting adds depth and helps the kitchen transition from a hard-working room to a welcoming gathering place. It may include illuminated glass cabinets, a soft toe-kick glow, or a decorative pendant over the island. Accent lighting should support the architecture and finishes, not turn the kitchen into a showroom.
Upgrade Under-Cabinet Lighting First
If the budget only allows one lighting improvement, under-cabinet LED lighting usually delivers the strongest day-to-day return. It brings light to the entire counter plane, highlighting backsplash material and reducing the harsh contrast between bright ceiling fixtures and dark work surfaces.
LED tape lights work well when installed in a concealed channel with a diffuser. The diffuser softens visible diode dots and creates an even band of light. Puck lights can be effective for a smaller project, but they often create separate pools of brightness rather than continuous coverage. For a custom kitchen, linear lighting generally gives a more polished result.
Placement matters. Fixtures should sit near the front edge of the upper cabinet, pointed back toward the wall, so the countertop is illuminated evenly. Installing them too far back can create a bright backsplash and a dim work area. During design, it is also worth planning where drivers, wiring, and switches will be located. A clean finished kitchen should not have visible cords or awkwardly placed controls.
Choose a color temperature that works with the rest of the home. Many homeowners prefer 2700K for a warmer, residential feel, while 3000K offers slightly crisper light that complements contemporary kitchens and white cabinetry. Cooler temperatures can make a kitchen feel clinical, especially after dark. The right answer depends on the finishes, natural light, and adjacent rooms.
Use Recessed Lights With a Purpose
Recessed lights can make a kitchen feel bright and orderly, but too many fixtures create a grid-heavy ceiling and unnecessary glare. The goal is to light the room evenly, not to fill every available square foot with cans.
Rather than centering recessed lights by the room dimensions alone, coordinate them with the cabinetry and work zones. A thoughtful plan places fixtures where they light the front of counters and walkways without landing directly above a person standing at the sink or island. In kitchens with tall cabinets, beams, skylights, or a range hood, each element should be considered before electrical rough-in begins.
Slim LED recessed fixtures are especially useful in remodels where ceiling space is limited. They can fit around framing and ductwork more easily than traditional recessed housings. However, the fixture quality, beam spread, trim style, and dimming performance all matter. Lower-cost products may flicker, shift color over time, or produce harsh light that no amount of styling can hide.
For many kitchens, fewer well-positioned recessed lights paired with under-cabinet lighting and pendants will look and perform better than an overly dense ceiling plan.
Make Island Pendants Earn Their Place
Pendants over an island are often the visual focal point of a kitchen. They can introduce warmth, metal contrast, texture, or sculptural shape. But they also need to provide useful light without blocking sight lines or interfering with conversation.
Scale is the first decision. A long island may suit two or three smaller pendants, while a compact island can look better with one statement fixture or no pendants at all. Oversized fixtures can dominate a modest kitchen, particularly in homes with standard ceiling heights. Small fixtures hung too high can disappear and provide little practical benefit.
Height is equally important. Pendants should illuminate the island without creating glare for someone seated across from them. Their bottom edge is commonly hung roughly 30 to 36 inches above the countertop, but this should be adjusted for ceiling height, fixture size, and the people using the room. Before final installation, it helps to mock up placement with temporary materials or review a detailed design plan.
If the island is used for homework, laptop work, or meal prep, put pendants on a separate dimmer from the recessed lights. This gives the household control over the mood and function of the room throughout the day.
Add Lighting Where Kitchens Need It Most
Some of the most useful lighting upgrades are easy to overlook because they are not immediately visible in a design photo. Interior pantry lighting, for example, prevents dark shelves and makes food storage easier to organize. Motion-activated lights can be practical in a walk-in pantry, utility area, or garage-adjacent kitchen entry.
Lighting inside glass-front cabinets can elevate a collection of dishes or glassware, especially in an entertaining-focused kitchen. It works best when the cabinet is designed for it from the start, with concealed wiring and an appropriate channel for the fixture. Open shelves can also benefit from subtle lighting, though too much brightness can make everyday objects look cluttered.
Toe-kick lighting is another option for homeowners who want a soft nighttime pathway. It is not a replacement for general lighting, but it can be useful for early mornings, late-night water runs, and households that do not want overhead lights switched on after everyone is asleep. Keep it warm and dimmable so it reads as a quiet architectural detail rather than a bright strip of light.
Choose Dimmers and Controls Early
A lighting plan is only as good as its controls. Dimmers allow the same kitchen to support focused food preparation, relaxed dinners, entertaining, and late-night cleanup. They also help homeowners avoid the all-or-nothing feeling of a single switch controlling every fixture.
At minimum, separate ambient lighting, under-cabinet lighting, and decorative fixtures onto different controls. Consider separate zones for a large kitchen, such as the cooking wall, island, dining area, and pantry. This adds a modest amount of planning during construction but makes the finished space far more comfortable.
Smart controls can be worthwhile for busy households, but they are not necessary for every project. App control, schedules, voice commands, and scene settings are convenient when they fit your routines. The trade-off is additional setup and the possibility of technology becoming outdated. A well-designed kitchen should always have intuitive wall controls that work without a phone or an internet connection.
Coordinate Lighting With the Full Remodel
Kitchen lighting touches several systems at once: electrical capacity, cabinetry, ceiling design, appliance placement, ventilation, and finish selections. That is why decisions made late in the process can lead to compromises, such as exposed wiring, off-center pendants, or a lack of light at a key work area.
When lighting is planned alongside the kitchen layout, your contractor and design team can coordinate junction boxes before drywall, conceal transformers, confirm switch locations, and ensure fixture dimensions work with the architecture. This is especially valuable in older Bay Area homes, where existing wiring, uneven ceilings, and structural changes can affect what is possible.
Good Vibes Design & Build manages these details as part of a coordinated remodeling process, from the first layout decisions through construction and final walkthrough. The result is not simply a brighter kitchen. It is a kitchen where every fixture has a purpose and every switch feels like it belongs.
The right lighting should make your kitchen easier to live in before anyone notices the fixtures themselves. Begin with how your household uses the space after sunset, then build a plan that gives every meal, project, and gathering the light it deserves.